1. Preparing Your Vehicle for Detailing
Removing Personal Items
Alright folks, let’s kick things off with a little prep work. Before you even think about getting your car detailed, it’s a smart move to remove any personal items from the inside of your ride. Think of it like cleaning out your closet before a big donation. You want to declutter, right?
Now, I know it’s tempting to just leave that old snack wrapper or a random coffee cup in there, but trust me, it’s worth taking the few minutes to clear everything out. You want the detailers to have clear access to every nook and cranny. Plus, it saves you the embarrassment of them finding your secret stash of gum wrappers!
After you’ve cleared out personal items, don’t forget to check under the seats and in the trunk. If you’re anything like me, you might find some odd treasures hiding in there—old receipts, a CD you thought you lost, or maybe even a stray coin or two!
Washing the Exterior
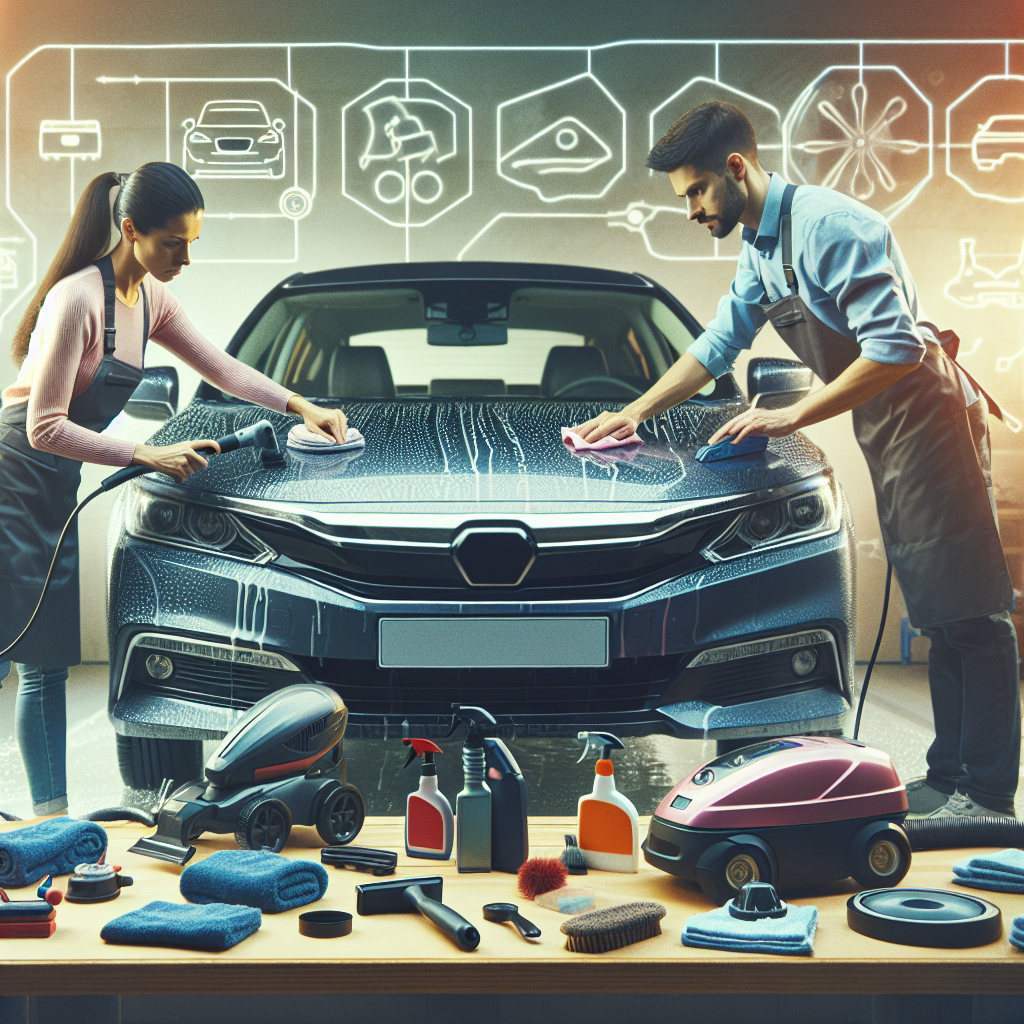
Next up, we’re talking about giving your car’s exterior a good wash. This is essential not just for aesthetics, but it also prepares your vehicle for the next steps. A proper wash removes dirt and grime that can scratch the surface during detailing.
If you’re doing it yourself, I recommend using a two-bucket method: one for soapy water and another for rinsing off your sponge, keeping things nice and clean. Some people swear by foam cannons, and I have to admit, they make for some good Instagram shots!
Whether you’re at a car wash or doing it at home, make sure to use a pH-balanced soap. You want the dirt gone, but you don’t want to compromise your wax or sealant. We’re trying to enhance that beauty, not strip it away, right?
Drying Properly
After washing, drying your car is the next crucial step. You’d think it’s straightforward, but there’s an art to it! Using a microfiber towel is a game changer. It’s gentle on the paint but effective enough to soak up all that water.
Make sure to dry it in sections—like I said, it’s all about technique. Start from the top and work your way down. You don’t want water dripping down onto an already dried part because that can lead to those unwanted water spots. We’re aiming for perfection here!
And hey, if you’re feeling fancy, a quick spritz of detail spray while you’re drying can help add even more shine. Who doesn’t love pulling up in a car that sparkles like it just rolled off the lot?
2. Interior Cleaning
Vacuuming Thoroughly
Now, let’s jump inside the vehicle, shall we? Vacuuming is one of those tasks that can feel a bit tedious, but it’s absolutely essential. This isn’t just about getting rid of crumbs from your last road trip; it’s about transforming the car’s interior.
When vacuuming, don’t just stick to the floor mats. Pay attention to the seats, the side panels, and even the crevices between the seats. Oh, what’s that? A half-eaten candy from last month? Yeah, let’s get rid of that.
Using different attachments can make your life easier. The crevice tool is a gem for getting into those tight spaces, and it’s amazing what you might find lurking there. Sometimes, I feel like I’m on a treasure hunt when I do this!
Wiping Surfaces
After vacuuming, surfaces need some love too. Grab some microfiber cloths and a gentle cleaner, and let’s make those surfaces shine! This includes everything from the dashboard to door panels and even the console.
Be careful about what cleaner you use. You don’t want something harsh that might damage the materials. Look for products specifically designed for car interiors. They smell good too, which is a nice bonus. It helps to freshen the air as you clean!
Don’t forget to clean your windows—inside and out! A streak-free shine on your windows makes a world of difference in how your car looks and feels. Plus, you want to be able to see clearly while cruising around town, right?
Deodorizing the Interior
After a thorough cleaning, it’s time to tackle any unwanted odors. We might love those fast-food stops and coffee runs, but our cars don’t always feel the same way! A good deodorizing helps bring a fresh vibe back to your ride.
You can purchase specific odor eliminators, or you can use simple hacks like placing an open bag of baking soda under the seats. It’s a natural way to absorb odors—trust me, it’s a life-saver!
As a final touch, consider adding an air freshener that suits your style. Whether it’s something subtle or a scent that feels luxurious, it’s all about what makes you feel good when you hop in. I personally love a citrus smell; it’s just so refreshing!
3. Paint Correction
Understanding Paint Imperfections
Let’s talk about paint correction. This step is crucial for making your car look its absolute best. You know those little swirl marks and scratches that sneak their way onto your paint? They can really dull your car’s shine. Paint correction is designed to address these imperfections.
First off, understanding what you’re dealing with is key. Different scratches require different methods. Light swirls might just need a polish, but deeper scratches may need sanding. Don’t panic—most detailing professionals can assess the damage pretty quickly.
This is also where investing in a good detailer really pays off. They possess the skills and tools to bring your car’s paint back to life without causing any additional harm!
Polishing Techniques
During the polishing stage, it’s all about getting that glossy, mirror-like finish. There are various polishing techniques, and believe me, it’s not just a simple wipe-and-go. A machine polisher is often used, which might seem intimidating, but it brings out the best in the paint.
I’ve seen some pros use a dual-action polisher that provides excellent results without being overly aggressive, which is perfect for preventing further damage.
If you’re into DIY, you can get your hands on some polishing compounds and a buffer; just be sure to follow directions closely. It’s all about technique!
Applying Wax or Sealant
Once the polishing is done, you’ve got to protect that beautiful work with a quality wax or sealant. Think of it as a shield for your car’s paint. Wax gives that instant gloss and depth, while a sealant offers longevity and durability against the elements.

When applying wax, less is often more. A thin, even layer is what you want. You can use an applicator pad or a microfiber cloth; just make sure to buff it out after letting it haze up for a bit.
Don’t skip this step! A good coat of wax or sealant will keep your car looking fresh and protected from things like UV rays, rain, and dirt for months to come!
4. Wheels and Tires Treatment
Cleaning the Wheels
Alright, time to get a little dirty—not too dirty, though! Your wheels and tires deserve some serious attention. To kick things off, let’s clean the wheels. Brake dust can build up like nobody’s business, and it’s super unsightly.
You’ll want a dedicated wheel cleaner to break down that grime. Look for something pH-balanced that’s safe for your specific wheel material. Apply it generously and let it soak for a moment to really work its magic!
Don’t forget to scrub those wheels with a good wheel brush. It’s all about reaching those hard-to-get spots. Once you rinse off the cleaner, your wheels will look so much better—like they’re ready for a photoshoot!
Conditioning the Tires
After the wheels are sparkling, let’s give some love to those tires. Tire dressing not only enhances their appearance but also helps protect them from drying out and cracking. Think of it like sunscreen for your tires!
When applying tire dressing, less is more. A little goes a long way, and you don’t want it to sling onto the car’s paint when you drive off. Let it sit for a bit before hitting the road!
In my experience, a fresh set of tires makes a big difference in the overall look of the car. It’s like the cherry on top of your detailing sundae.
Inspecting the Brake Components
While you’re down there, it’s also a good idea to inspect the brake components. Keep an eye out for any rust or unusual wear. If you’re not familiar with brake systems, it might be worth getting a professional’s opinion.
Taking care of your brakes isn’t just for performance; it also adds to the overall safety of your vehicle. A quick inspection here can save you from a potential headache later on!
And if you notice anything off, don’t hesitate—get it checked out. It’s part of keeping your ride in tip-top shape.
5. Final Touches and Quality Check
Final Inspection
As you start wrapping up your detailing session, a final inspection is vital. You want to ensure everything has been addressed, from paint correction to the interior clean. It’s kind of like checking your work before handing it in—nothing feels better than that!
Walk around your car and inspect all the work that was done. Make sure there are no missed spots and that everything looks cohesive. Trust me, you’ll feel a sense of accomplishment seeing it all come together.
If you’re at a detailing shop, they might even do this for you, so don’t be shy about asking about it. A good detailer will want you to be thrilled with the outcome!
Adding Finishing Products
Finally, it’s time for the last touches! This might include applying a final coat of wax, a quick spray detailer, or even some tire shine. These finishing touches elevate your car’s overall look and give it that freshly detailed feel.
For instance, I love hitting the surfaces with a quick detail spray after everything’s done—it adds an extra layer of shine, and it smells incredible too. It’s all about those little details!
Also, don’t forget to check your lights—cleaning them up can make such a difference. A little effort goes a long way in making everything pop, plus it’s just safer to see clearly at night.
Enjoying the Results
Now comes the best part: enjoying your freshly detailed ride! Take a moment to appreciate all that hard work, whether you did it yourself or had it done professionally. That feeling of getting into a clean car is unmatched!
One way I love to celebrate is to take my car for a nice drive. There’s something quite satisfying about cruising in a freshly detailed vehicle. It feels as good as it looks, and it’s a great reminder to keep up the good work between detailing sessions.
So, whether you’re showing off to friends or just enjoying the shine for yourself, take a moment to bask in the glory of your beautifully detailed car. You’ve earned it!
Frequently Asked Questions
1. How often should I get my car detailed?
It really depends on your lifestyle. If you’re a daily driver, you might want to get it detailed every 3-6 months. However, if your car is more of a weekend warrior, you can stretch that time longer! Remember, regular maintenance can make a big difference.
2. Is professional detailing worth it?
Absolutely! While you can do some of the work yourself, professionals have the tools and experience to achieve results that you may not be able to achieve on your own. Plus, they often have access to high-end products that work wonders!
3. Can I wash my car after detailing?
You definitely can wash your car after detailing! However, wait at least a week to ensure that any wax or sealant has properly cured. After that, just use a gentle car wash routine to maintain the effect.
4. What’s the difference between waxing and sealing?
Wax is typically made from natural carnauba and provides a deep shine, while sealant is synthetic and lasts longer. They both protect your paint, but if you want longevity, go with a sealant. If you want that warm glow, wax is ideal!
5. Is it better to detail my car in hot or cold weather?
It’s usually best to avoid extreme temperatures. Mild weather is ideal, as hot surfaces can cause wax or polish to dry too quickly, while cold weather can make products harder to apply. Aim for a comfortable day, and you’ll have better results!