Washing the Exterior
Choosing the Right Soap
When it comes to washing your car, I’ve learned that using the right soap is crucial. You really want to pick one that’s specifically designed for vehicles. Household soaps might seem tempting, but they can strip away your wax and damage the finish over time. Trust me, I’ve made that mistake before!
I personally love using a pH-balanced car wash soap. It cleans without being overly harsh, leaving your paint job safe and sound. Plus, it makes the whole washing experience way smoother when you know your car is getting treated right.
Also, make sure to have a good sponge or wash mitt; I always go for a microfiber one. It glides over the surface without risking scratches. You’d be surprised how much of a difference it makes!
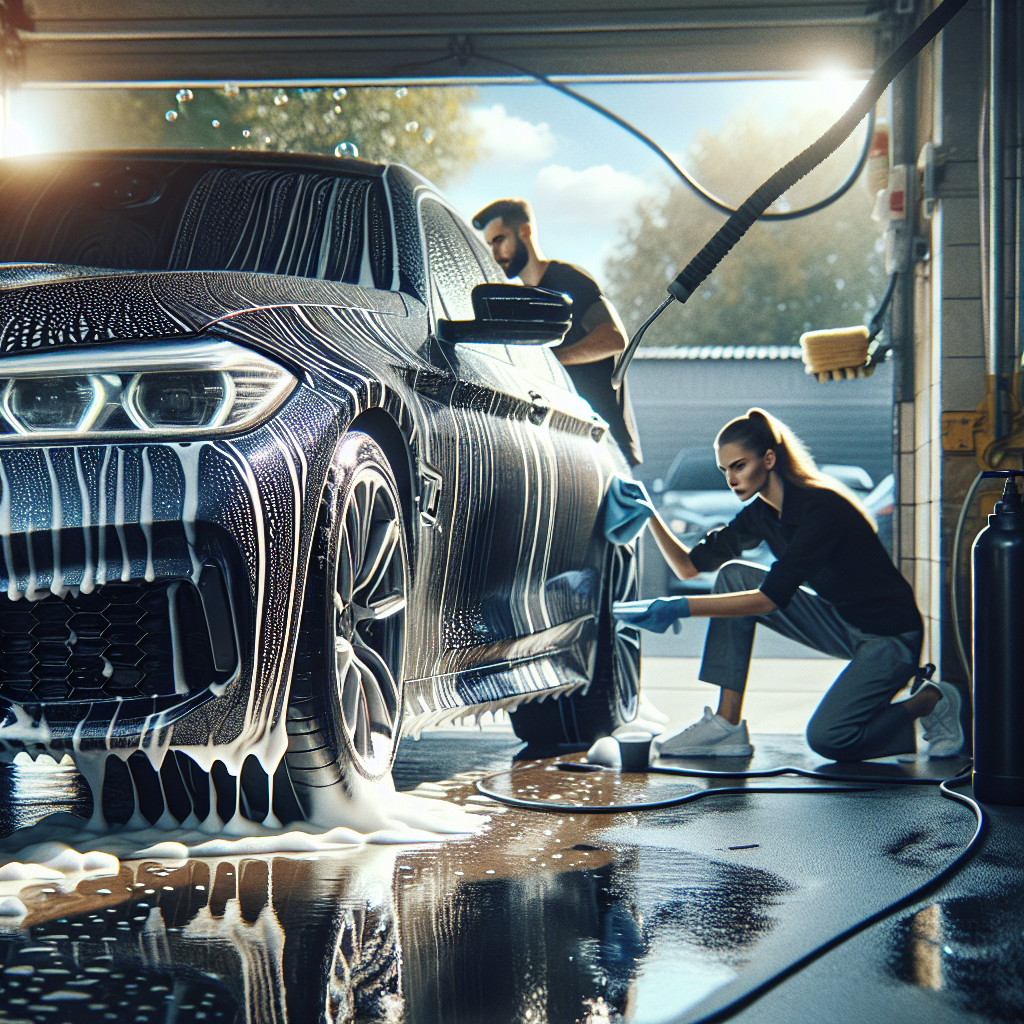
Technique for a Careful Wash
Now, soap in hand, it’s time to get sudsy. I always start from the top of the car and work my way down. It seems simple, but this technique helps avoid dirt and grime from moving downward onto the clean areas. Plus, as I wash, I’m more aware of any dirt spots that may need a little extra love.
Rinsing is just as important as washing. I usually do a thorough rinse first to get rid of loose dirt before soaping up. This prep work makes the actual washing much easier and more effective. That said, never wash in direct sunlight! I made that mistake once, and it led to soapy streaks that drove me nuts.
Once I’m done washing, I follow up with a final rinse, making sure to leave no soap behind. The last thing I want is to discover a soap residue later on. It’s all about those little details!
Drying Techniques
Drying, folks, is where I see a lot of people go wrong. After all that care, it’s easy to just grab any old towel. But here’s the deal: you want to use a microfiber drying towel for the best results. I’ve learned the hard way that regular towels can leave scratches.
I’ve found that gently blotting instead of rubbing helps prevent scratches, too. Just lay the towel on a wet spot and let it absorb the water. It might take a bit longer, but your paint will thank you in the long run!
And don’t forget those nooks and crannies! A detailing blower became my little secret weapon here. It blasts away water from places like the mirrors and grill, leaving my ride spotless.
Clay Bar Treatment
Why Clay Bar?
Let’s talk about the magic of clay barring. Seriously, if you’re not using a clay bar, you’re missing out. This step helps remove all the embedded contaminants that regular washing can’t touch. I remember how impressed I was the first time I used it; the difference was night and day!
Clay bars can grab onto dirt, pollution, and even leftover wax. Using one feels like giving your car a mini spa treatment. Plus, it helps prep your paint for any wax or sealants you’re planning to apply.
That said, it’s essential to keep the surface lubricated while using a clay bar. I usually spray some clay lubricant as I go, which helps the bar glide and captures all that gunk easily. It’s an effortlessly satisfying process, trust me!
The Technique
When I’m ready to clay, I grab a small piece and flatten it out in my hand. Then I just work it over the surface gently. You really don’t need to apply a lot of pressure. Just let the clay do its thing!
I like to work in small sections, spending a minute or two on each area. You can tell when the surface feels smooth; that’s when you know you’re done there! You’ll notice how much smoother it is compared to the rough spots you started with.
It’s always good practice to keep checking the clay. Once it picks up a lot of dirt, fold it over or switch to a fresh piece. I never want to risk dragging grime across my freshly cleaned paint!
Post-Clay Care
After I’m done claying, I make sure to wash off any leftover residues from the clay lubricant. Some people skip this step, but I find it’s vital to ensure nothing messes with the upcoming wax or sealant.
Once I’m rinsed clean, I usually dry the surface and inspect for any leftover imperfections. If I need to, I’ll go back over those problem spots. It’s all about perfection, you know?
After a satisfying clay treatment, I’m always pumped to move onto waxing because this is where the real shine happens!
Waxing the Paint
Choosing the Right Wax
When it comes to waxing, I’ve got my favorites! There are different types of waxes – paste, liquid, and spray. Personally, I think paste wax gives the best results in terms of shine and durability. Nothing beats that deep shine that just radiates!
It’s important to choose a wax that suits your car’s color too – darker cars may benefit more from a carnauba blend, while lighter cars often do great with synthetic options.
Always check what your manufacturer recommends as well. I had a car that had specific needs, and going off the path sometimes led to issues. Do your homework, and your car will shine brighter for it!

Preparation before Waxing
Before I dive in, I ensure that the surface is clean and dry. After washing and claying, the paint should feel slick, but running a microfiber towel over it is a good idea just to be sure. I even like to inspect for any missed spots that might need attention.
When I’m ready to start waxing, I always use a foam applicator pad. It just makes it easier to spread the wax evenly without frustrating streaks. Plus, it gives me better control over the application process.
I like to work in small sections, making sure the wax lays down evenly. A little goes a long way, so I don’t cake it on like frosting. Instead, I prefer a thin layer that shines like crazy!
The Application Process
As I’m applying the wax in circular motions, I can’t help but admire how my car starts to gleam. It’s honestly one of my favorite moments! I let the wax haze up, usually in about 10-15 minutes, before buffing it off with a clean microfiber towel. Seeing that shine come to life is pure joy!
Also, never forget those often overlooked areas like the door jams and under the hood. I make it a point to wax these spots too; it just completes the overall look and shows I care about all aspects of my car.
Once I’m done with the whole car, I do a final inspection to make sure every inch shines. There’s something satisfying about standing back and seeing the reflection glow!
Finishing Touches
Detailing Lights and Wheels
When I’m finishing up, the wheels and tires demand my attention. I’ve learned that dirty wheels can ruin an otherwise spotless car. So, I grab a dedicated wheel cleaner and a tire brush. Scrubbing away at brake dust is totally worth it for that clean look!
I usually clean the tires afterward using a tire dressing product to give them that showroom shine. A little goes a long way here, and I always love how fresh tires can complete the whole detailing process.
For the lights, a quick polish makes a world of difference. I use a plastic polish that helps clear any cloudiness, ensuring my lights shine as bright as my paint! Safety first, right?
Interior touch-up
While I’m focused on the exterior, I can’t forget the interior! A quick vacuum helps get rid of any crumbs or dirt. I also like to wipe down surfaces with a reliable interior cleaner to keep everything fresh.
Cleaning the windows is crucial too; a streak-free shine makes such an impact. I usually use a dedicated glass cleaner, and microfibers for that crystal-clear finish.
Once that’s done, a quick air freshener spritz always feels like the cherry on top! It ends the full detailing experience on a high note.
Protecting Your Detail Job
Lastly, I always recommend using a spray sealant or quick detailer after waxing to lock in that fresh detail. It protects against UV rays and elements. After all that hard work, you want it to last!
I also make it a habit to keep my detailing products handy because maintenance is key. Regular upkeep is what keeps your car looking and feeling fresh long after the big detail.
And honestly, make it fun! Detailing can be a therapeutic process if you give it your all and maybe throw on your favorite tunes. Trust me, your car will thank you for it!
FAQs
What type of soap should I use for washing my car?
Always opt for a pH-balanced car wash soap specifically designed for automobiles. Avoid household soaps as they can strip wax and damage your paint!
How often should I clay my car?
A good rule of thumb is to clay your car every 6-12 months, or whenever you feel rough spots after washing. It helps maintain a smooth surface and prepares it for waxing.
Can I use a wax on a freshly clear-coated car?
Yes, but make sure to wait at least 60 days after the application of the clear coat. This allows the clear coat to cure properly before applying any wax.
Why should I detail the wheels as part of the process?
Dirty wheels can really detract from the overall appearance of the vehicle. By cleaning and detailing them, you complete the look and give them the attention they need!
What can I do to maintain my detail job?
To maintain your car’s detailing, wash it regularly with the proper soap and keep it covered whenever possible. Also, consider using a spray wax or detailer after washes to keep the shine fresh.