Understanding Paint Correction
What is Paint Correction?
Hey there! If you’re as passionate about high-end cars as I am, then you’ve probably heard of paint correction. It’s all about restoring that showroom shine to your vehicle. We’re talking about removing imperfections like swirls, scratches, and oxidation. Trust me, nothing feels better than seeing your car look as good as new!
In essence, paint correction involves a series of steps aimed at perfecting your vehicle’s paint surface. It’s not just about aesthetics; it’s about preserving the value of your investment. High-end cars deserve nothing less than the best care, right?
I’ve seen the difference paint correction can make. From restoring a dull finish to revealing vibrant colors, it’s a game changer. Let’s dive into how we can achieve this magic!
Assessing the Paint Condition
Evaluating the Surface
The first step in paint correction is assessing the current condition of your car’s paint. Grab a bright flashlight and take a good look. You’ll be surprised at what you find! Look for scratches, swirl marks, and any oxidation. It’s like a treasure hunt—but instead of gold, you’re uncovering all those little imperfections.
I usually start by cleaning the surface to remove any dirt or grime, which can hide these flaws. Once it’s spotless, you’ll have a clear view of what you’re working with. Plus, it helps you figure out just how much correction is needed.
Don’t forget to take notes. I find it helpful to jot down any specific areas of concern so that I can focus my efforts later. Really, it’s all about starting with a solid plan!
Choosing the Right Tools and Products
Essential Tools for Paint Correction
Okay, now that you’ve assessed your car’s paint job, it’s time to pick the right tools for the job. Trust me, this part can make or break your whole process. You’ll need a dual-action polisher, which is great for beginners and pros alike. It’s like having your secret weapon!
Then, you’ll need quality pads and cutting compounds. I can’t stress enough how important it is to invest in good products. Cheap pads can leave more damage than they fix, and we’re not about that life. Brands I love include Meguiar’s and Menzerna, so keep an eye out for those!
Finally, don’t forget your microfiber towels. These babies are essential for wiping down your surfaces without causing more scratches. Remember, you’re trying to polish perfection here!
Executing the Paint Correction Process
Step-by-Step Application
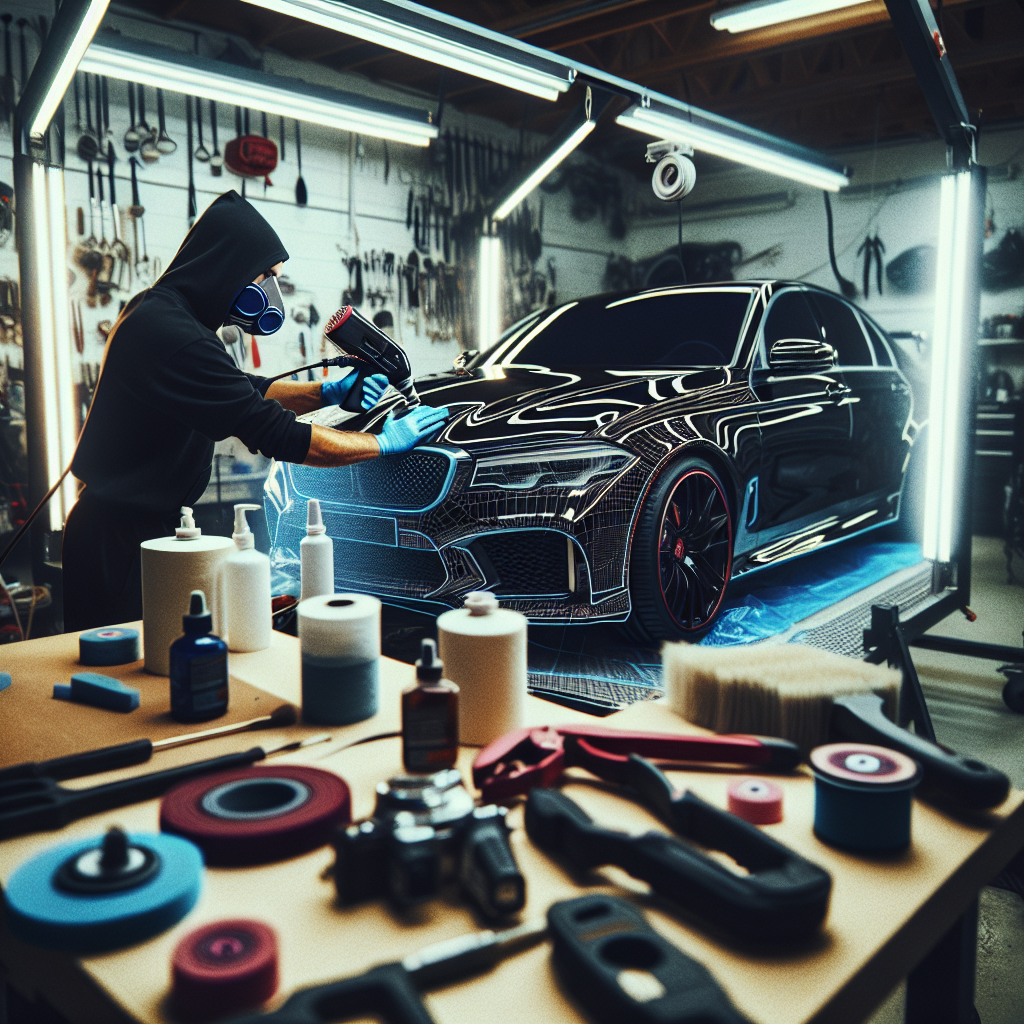
Now for the fun part! It’s time to get your hands dirty and start the paint correction process. First, if you haven’t already, take the time to mask off any trim or areas that could be sensitive to polishing. It’s like a safety net for your car!

Next up, apply a small amount of your chosen compound onto the pad. Start with a test spot to gauge how much correction you need. I usually work in small sections—about 2×2 feet. Work the polisher slowly, keeping it flat against the surface. You’ll want to keep the speed moderate; too fast can cause more damage.
Once you’ve worked the compound, wipe off the residue with a microfiber towel. Check your progress—if it’s not quite there, don’t hesitate to repeat the process. Sometimes it takes a couple of passes to truly perfect it!
Finishing Touches and Maintenance
Sealing and Protecting Your Work
Congratulations—after all that hard work, you’ve done it! Now, it’s time to seal the deal. Applying a quality wax or sealant will protect that glossy finish you’ve just achieved. I love using a ceramic coating, which provides a long-lasting protective layer against the elements.
Also, don’t skimp on your maintenance. Invest in detailing products that are gentle yet effective. Regular washes with the right shampoo can help maintain that shine. I usually recommend sticking to a routine washing schedule, so your car stays looking fresh.
Lastly, give your car a good polish every few months to keep it looking crisp. A little bit of ongoing love goes a long way with high-end vehicles!
FAQ
What is paint correction?
Paint correction is the process of removing imperfections from a car’s paintwork, such as swirl marks and scratches, to restore its clear, glossy finish.
How long does paint correction take?
The time it takes can vary depending on the level of correction needed. Generally, it can take anywhere from a few hours to a full day for a thorough job.
Can I do paint correction myself?
Absolutely! With the right tools and patience, you can tackle it yourself. Just be sure to do your research and watch some tutorials to get familiar with the process.
What products are best for paint correction?
Look for quality compounds from trusted brands like Meguiar’s or Menzerna. A dual-action polisher, foam pads, and microfiber towels are also essential.
Is paint correction worth the investment?
Definitely! Especially for high-end cars, paint correction not only enhances the appearance but can also boost resale value. It’s an investment in keeping your car looking its best!