Step 1: Preparing Your Vehicle for Ceramic Coating
Gathering Your Supplies
Before diving into the application process, I found that prepping your space and supplies is crucial. You’ll need ceramic coating, a pH-neutral car shampoo, microfiber towels, and detailing clay. Setting everything within arm’s reach makes your job so much easier and keeps you focused.
Having a clean work environment is just as important as having the right supplies. Make sure your workstation is free of dust and debris to prevent any contamination during the application process. Remember, we’re trying to get a flawless finish here!
And don’t forget about your safety gear! Gloves and a mask can prevent any irritation from the chemicals you will be working with. Comfort is key when you’re spending a few hours on this project.
Washing and Decontaminating
This step is where we get down to business. A thorough wash is essential! I always use a pH-neutral car shampoo to gently lift dirt and grime without harming the paint. A good rule of thumb is to work from the top of the vehicle down.
Using a two-bucket method to avoid scratching my car’s surface has always been a smart move for me. One bucket for the soapy water and another for rinsing your sponge. Trust me, it makes a world of difference!
After washing, I like to use detailing clay to eliminate any embedded contaminants like tree sap or industrial fallout. Rubbing the clay bar across the paint makes it feel smooth as butter—this is crucial because any rough spots will show through the ceramic coating.
Drying Your Vehicle
Once the washing and decontaminating are complete, it’s drying time. I always grab a few high-quality microfiber towels that are gentle on my car’s surface. Carefully drying the vehicle ensures there’s no water left that could interfere with the coating.
To get into every nook and cranny, I recommend using a leaf blower. It sounds a bit extreme, but it works wonders for dislodging water that’s lodged in crevices. It’s just one of those little tricks I’ve learned to love!
Lastly, take a moment to visually inspect the surface. It’s the perfect time for you to ensure everything is spotless before moving on to the next step. Any missed imperfections could come back to haunt you later on with that shiny new coating!
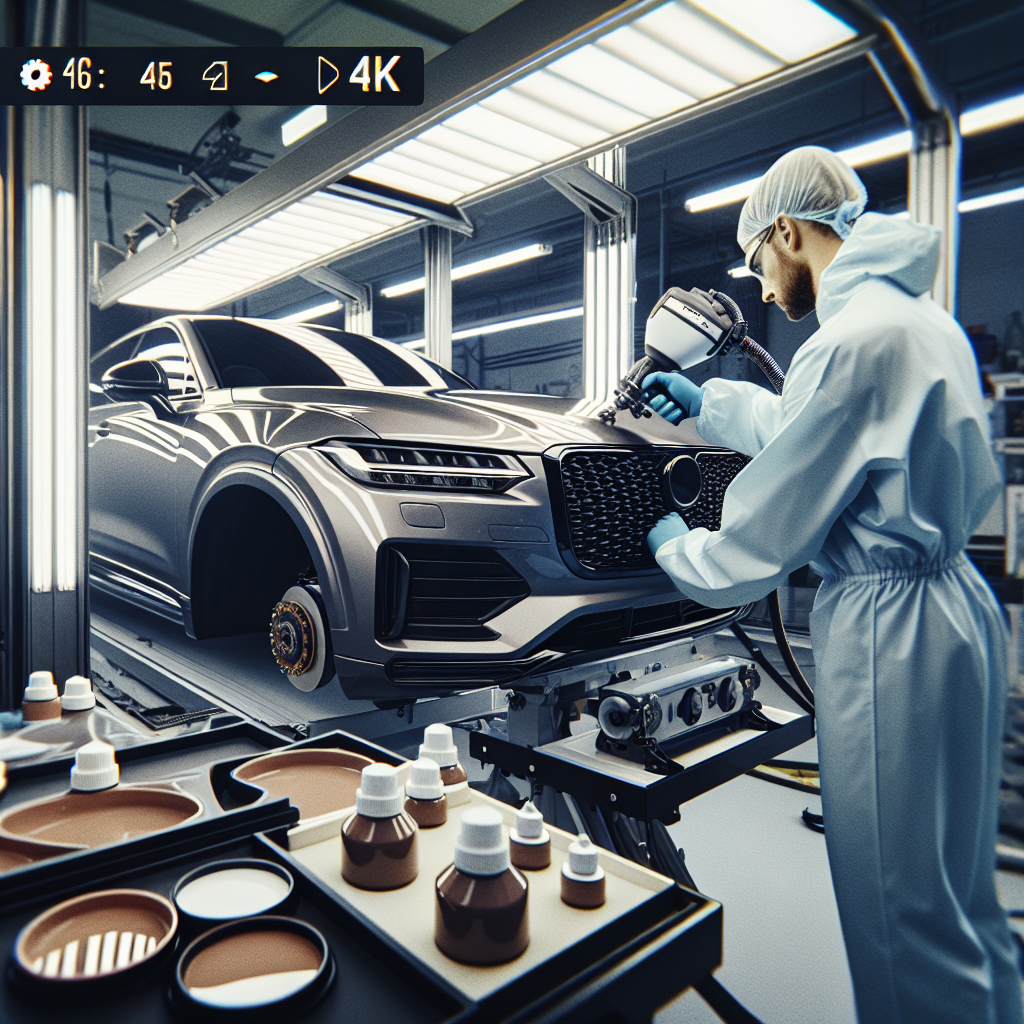
Step 2: Applying the Ceramic Coating
Choosing the Application Method
When it comes to actually applying the ceramic coating, I had to decide between a spray-on versus a wipe-on method. I opted for the wipe-on for complete control. It’s a personal preference, but I find it gives me a more even coat without risking any overspray.
It’s important to read the manufacturer’s instructions carefully to ensure you know the best method for your specific product. Some coatings require specific temperatures or conditions. I always check the weather before I start!
Another tip? I love to work on one panel or section at a time. This allows me to focus fully on ensuring I’m applying the coating evenly and without leaving spots or streaks.
Application Technique
When you’re ready to put the ceramic coating on your car, it’s time to get comfortable! I usually use an applicator pad wrapped in soft microfiber towels to start. The application process is also about finesse and patience, so don’t rush it!
My go-to technique is to apply the coating in a cross-hatch pattern. This overlapping method helps distribute the product evenly and gives you the best possible coverage. Plus, it can be a little soothing—you get into the groove and just flow with it.
After applying the coating, I always make sure to check for any high spots that can occur. These are just areas where too much product has built up, and they need to be lightly buffed out while still wet. This step cannot be skipped—it’s essential for that flawless finish!
Letting the Coating Cure
Once I’ve finished applying the coating, it’s time for the impatient part—waiting! Curing times can vary widely, so I make sure to refer to the instructions. Usually, I’ll leave it undisturbed for at least 24 hours to ensure it hardens properly.
During this curing time, I also avoid washing the vehicle or exposing it to rain. It’s crucial to provide an optimal environment so that the coating bonds perfectly to the paint.

To ease the anxiety during this wait, I often take the time to plan out my upcoming maintenance schedule. Knowing that I’m one step closer to ultimate paint protection makes waiting a lot easier!
Step 3: Aftercare and Maintenance
Initial Care
Once the ceramic coating has fully cured, it’s my favorite moment—seeing it shine bright like a diamond! I always take a second to appreciate the work I put into it before getting into the aftercare.
In the first week, I’m extra cautious. I avoid washing it and make sure it stays out of harsh weather conditions. Protecting your investment during this time is super essential for longevity!
If I must drive it, I try to park in shaded areas or garages. This minimizes the risk of water spots or contaminants from the environment making contact with the new coating.
Regular Maintenance Washes
To keep that ceramic coating looking as good as new, regular maintenance washes become my best friend. I typically stick with a pH-neutral shampoo and avoid any harsh detergents that could strip the coating away. Always rinsing well and using soft microfiber towels to avoid scratching is key!
I also recommend doing a decontamination wash every few months. Using a clay bar again can help remove any embedded contaminants and keep that glass-like finish shiny!
Don’t forget about the benefit of periodic inspections! Just walking around and looking closely can help spot any early signs of wear or damage. Early detection is always better than having to do it all over again!
Protecting the Coating
Last but not least, protecting your ceramic coating is vital. Consider periodic application of a ceramic sealant boost for added shine and protection. It’s a quick and easy way to enhance your car’s durability without too much hassle.
Additionally, steer clear of automatic car washes; they can be rough on the coating. I always encourage hand washes to ensure I’m giving that extra care needed.
And don’t skip on proper drying techniques! Patting dry rather than dragging a towel across the surface reduces the chance of swirls. Why risk it, right? Treat your car like the high-end beauty it is!
Conclusion
So, there you have it! A complete guide to ceramic coating your high-end car right here in San Antonio. I hope my personal insights help you through this process as it has to me. Enjoy that fantastic shine and protection; your vehicle deserves it!
FAQs
1. How long does ceramic coating last?
Ceramic coatings can last anywhere from 2 to 5 years, depending on the product and how well you maintain it.
2. Can I apply ceramic coating myself?
Absolutely! With the proper preparation and technique, DIY ceramic coating can be very rewarding.
3. What happens if I get water spots on my coated vehicle?
Don’t panic! You can usually remove them using a detailing spray or a clay bar. Regular maintenance can help prevent them.
4. Is ceramic coating worth the investment?
In my experience, yes! It provides excellent protection against elements, UV rays, and keeps your car looking new for longer.
5. How often should I wash a ceramic coated car?
It’s best to wash it every 2-4 weeks, using a gentle pH-neutral soap to keep it in top shape.